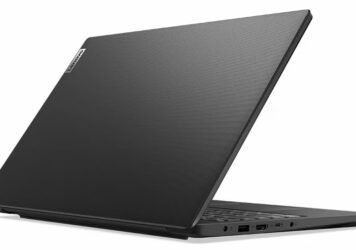
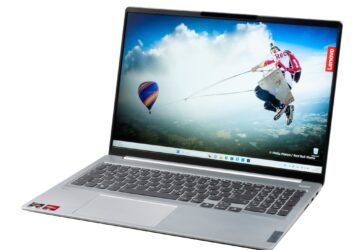
Lenovo laptop Screen Replacement in Patna
Many people are very worried due to Lenovo laptop screens getting damaged, blurred, or damaged. There can be many reasons for this, Try to protect your device as much as you can, because if you keep it clean, such problems will be less likely.
But any kind of problem can arise in electronic devices at any time, so we tell you what problems can arise in them and how you can prevent them.

Lenovo laptop Screen Replacement in Patna
Is your Lenovo laptop screen giving you trouble? Whether it’s cracked, damaged, or malfunctioning, replacing your laptop screen might be the solution you need. In this comprehensive guide, we’ll walk you through the process of Lenovo laptop screen replacement step by step. From understanding the problem to choosing the right replacement screen and performing the installation, we’ve got you covered.
Understanding the Issue: Before diving into the replacement process, it’s important to diagnose the issue with your Lenovo laptop screen. Common problems include cracks, flickering, dead pixels, or a completely blank screen. Identifying the specific issue will help you determine whether a replacement is necessary.

Choosing the Right Replacement Screen: When it comes to replacing your Lenovo laptop screen, compatibility is key. Before purchasing a replacement screen, make sure it’s compatible with your laptop model. Check the model number and specifications to ensure a perfect fit. Additionally, consider factors such as screen size, resolution, and backlight type to match the original screen specifications.
Gathering Necessary Tools: To successfully replace your Lenovo laptop screen, you’ll need a few tools handy. These may include a small Phillips screwdriver, a flathead screwdriver, a plastic prying tool, and a clean microfiber cloth. Having the right tools will make the replacement process smoother and minimize the risk of damage to your laptop.

Step-by-Step Replacement Guide:
- Power Off and Disconnect: Before starting the replacement process, power off your laptop and disconnect all cables, including the power adapter and any external devices.
- Remove the Bezel: Use a plastic prying tool to carefully remove the plastic bezel surrounding the screen. Start from one corner and work your way around the edges, gently releasing the clips holding the bezel in place.
- Unscrew and Remove the Screen: Once the bezel is removed, you’ll find screws securing the screen to the laptop frame. Use a Phillips screwdriver to carefully unscrew and remove the screen.
- Disconnect Cables: Before fully removing the screen, disconnect any cables attached to the back, including the video cable and webcam cable.
- Install the New Screen: Carefully place the new screen in position and reconnect the cables. Secure the screen with screws and reattach the bezel.
- Test the screen: After installation, power on your laptop to ensure the new screen functions properly. Check for any display issues or abnormalities.
- Reassemble and Test: Once the screen is confirmed to be working, reassemble the laptop by reconnecting all cables and screws. Test the laptop again to ensure everything is in working order.


